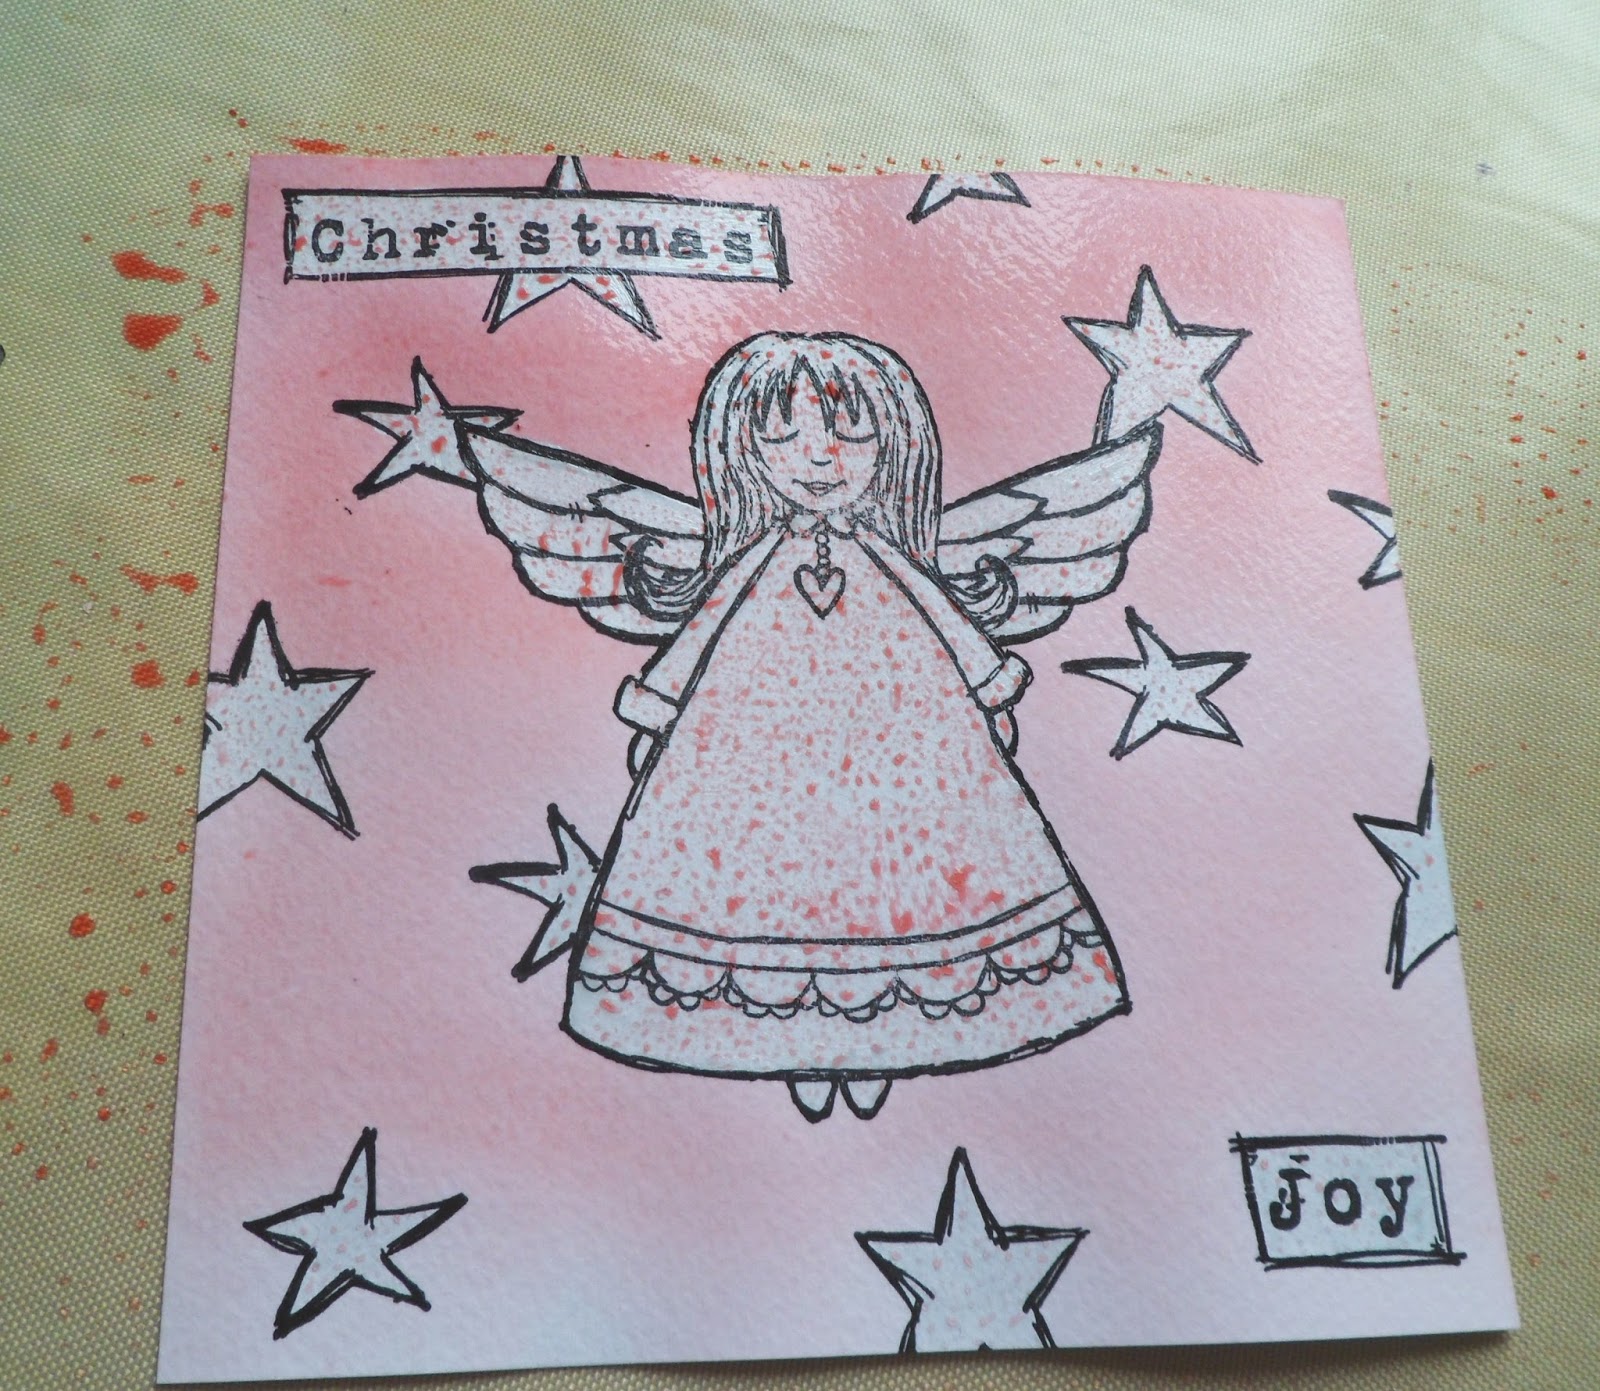
Showing posts with label Brushos. Show all posts

Thursday, 5 January 2023

My first watercolour picture

Hello lovely peeps and a Happy New Year to you all, I hope you had a good Christmas.


Just popping in to share my first watercolour picture, a painting of my sister in law's dog for her (big) birthday.

Saturday, 30 January 2021

Uplifting

An 'uplifting' card today, using my favourite colour combo (yellow, pink and orange) to bring you a bit of sunshine on this horrible rainy day.
 

Despite all the showers today there was enough light for photos so I did a little step by step.

Tuesday, 9 October 2018

Brusho Poppies

Hello lovely peeps and welcome to my new follower :o)


For today's card I've used the Poppy Paint Fusion stamps by Sheena Douglass.

Monday, 1 October 2018

Copic UK GDT spot

Hello lovely peeps


I'm thrilled to announce that I am a Guest Designer this month on the Copic UK Facebook page, where you have a chance to win 2 Copic pens in their Anything Goes Challenge (just post something you have coloured with Copic markers).

Thursday, 27 September 2018

Steam Train Z fold

Hello lovely peeps


Another commission to show you today - the brief for this one was 'Steam Train'.

Thursday, 20 September 2018

Nautical Daughter

Hello lovely peeps


Another commission to show you today. My friend's daughter loves tall ships - she has worked on one and even has a ship tattoo, so her card had to have a nautical theme.

I found this ship stamp in my stash which was perfect for the job - it's from a Paper Artsy Hot Picks set (HP1202).

Wednesday, 29 August 2018

Brusho Birthday

Hello lovely peeps and a warm welcome to my new follower :o)


Just a quick post today to show you a commissioned card I made for a 50th birthday.

Thursday, 12 October 2017

Brusho Squirrel

Hello lovely peeps


Today's card features the Squirrel from the Little Acorn stamp set by Sheena Douglass.

Monday, 7 August 2017

Brusho Sympathy

Hello lovely peeps


Today's card is one of those you hope you never have to make, a sympathy card.

I hope it brings a small crumb of comfort to my cousin who lost his 23 year old son this week, a vibrant and lovely young man taken far too soon.

To start off I painted some Pebeo Drawing Gum straight onto the Stylised Flowers stamp from IndigoBlu and stamped it onto some thick watercolour card. Once it was dry I sprinkled on some Brusho powders and spritzed with water.


I built up layers of colour until the flowers stood out from the background


then cut the piece down, stamped on a greeting from Woodware's Tiny Phrases set and mounted it on a 6x6 card with turquoise organza ribbon.

I would like to enter this in the following challenges:-
Sparkles Forum Challenges # 94 Thinking of You or sympathy card
Country View Crafts Challenge Blues and greens
Southern Girls #165 Flower power
Happy Little Stampers (Watercolour)  option Bloom
Crafty Ribbons Use ribbon
Little Red Wagon #405 Favourite products (Brushos, IndigoBlu stamps)
Artistic Stampers  Anything Goes

Thanks for stopping by,
Katrina x

Thursday, 20 July 2017

Fairy Shaker for Leonie

Hello lovely peeps


Today's make is a shaker card that I made with Leonie Pujol's Christmas stamps.

First I stamped the fairy from the Fairy Godmother set onto watercolour card with Black Archival ink


I stamped it again onto copy paper and cut it out


before adding Zig 2-way glue onto the back and leaving it to go clear (so it is repositionable)


With my handmade mask in place I overstamped the wings


and wording from the Christmas Greetings set


After covering the wording and wings with more masks (small enough to fit on sticky notes this time), I stamped on stars from the Tree Time set.


Once all my stamping was done I wanted to add a Brusho background, so I removed the paper masks (which would have got soaking wet) and painted all the stamped areas in with Pebeo Drawing Gum


After wetting the background with water, I brushed on diluted Crimson Brusho crystals


then sprinkled on Purple Brusho crystals and spritzed with water


I dried it off with a heat gun, rubbed off the drawing gum and then left the card under a large stack of books to flatten it out overnight.


To colour the fairy in I used Spectrum Aqua markers -
Peach for the skin, Tan and Boulder for the hair, Charcoal for shading


and diluted Crimson Brusho for the dress, shoes and wording.


I cut the top part of the dress out using a craft knife - using a glass mat makes it much easier to cut


I added double-sided tape around the back of the aperture and then attached a square of acetate.


For the base card I glued some more watercolour card to a 6"x6" card blank (to go behind the aperture) and then added two layers of foam tape.


I added more foam tape around the edges for stability and then added little white stars into the well in the centre before attaching the front layer (the white stars did not show up at all on TV, I should have gone with pink :o)


To colour in the stars I mixed Lemon, Copper and Clear sparkle pens on my craft mat to get a light gold colour, then applied with a slightly damp paintbrush.


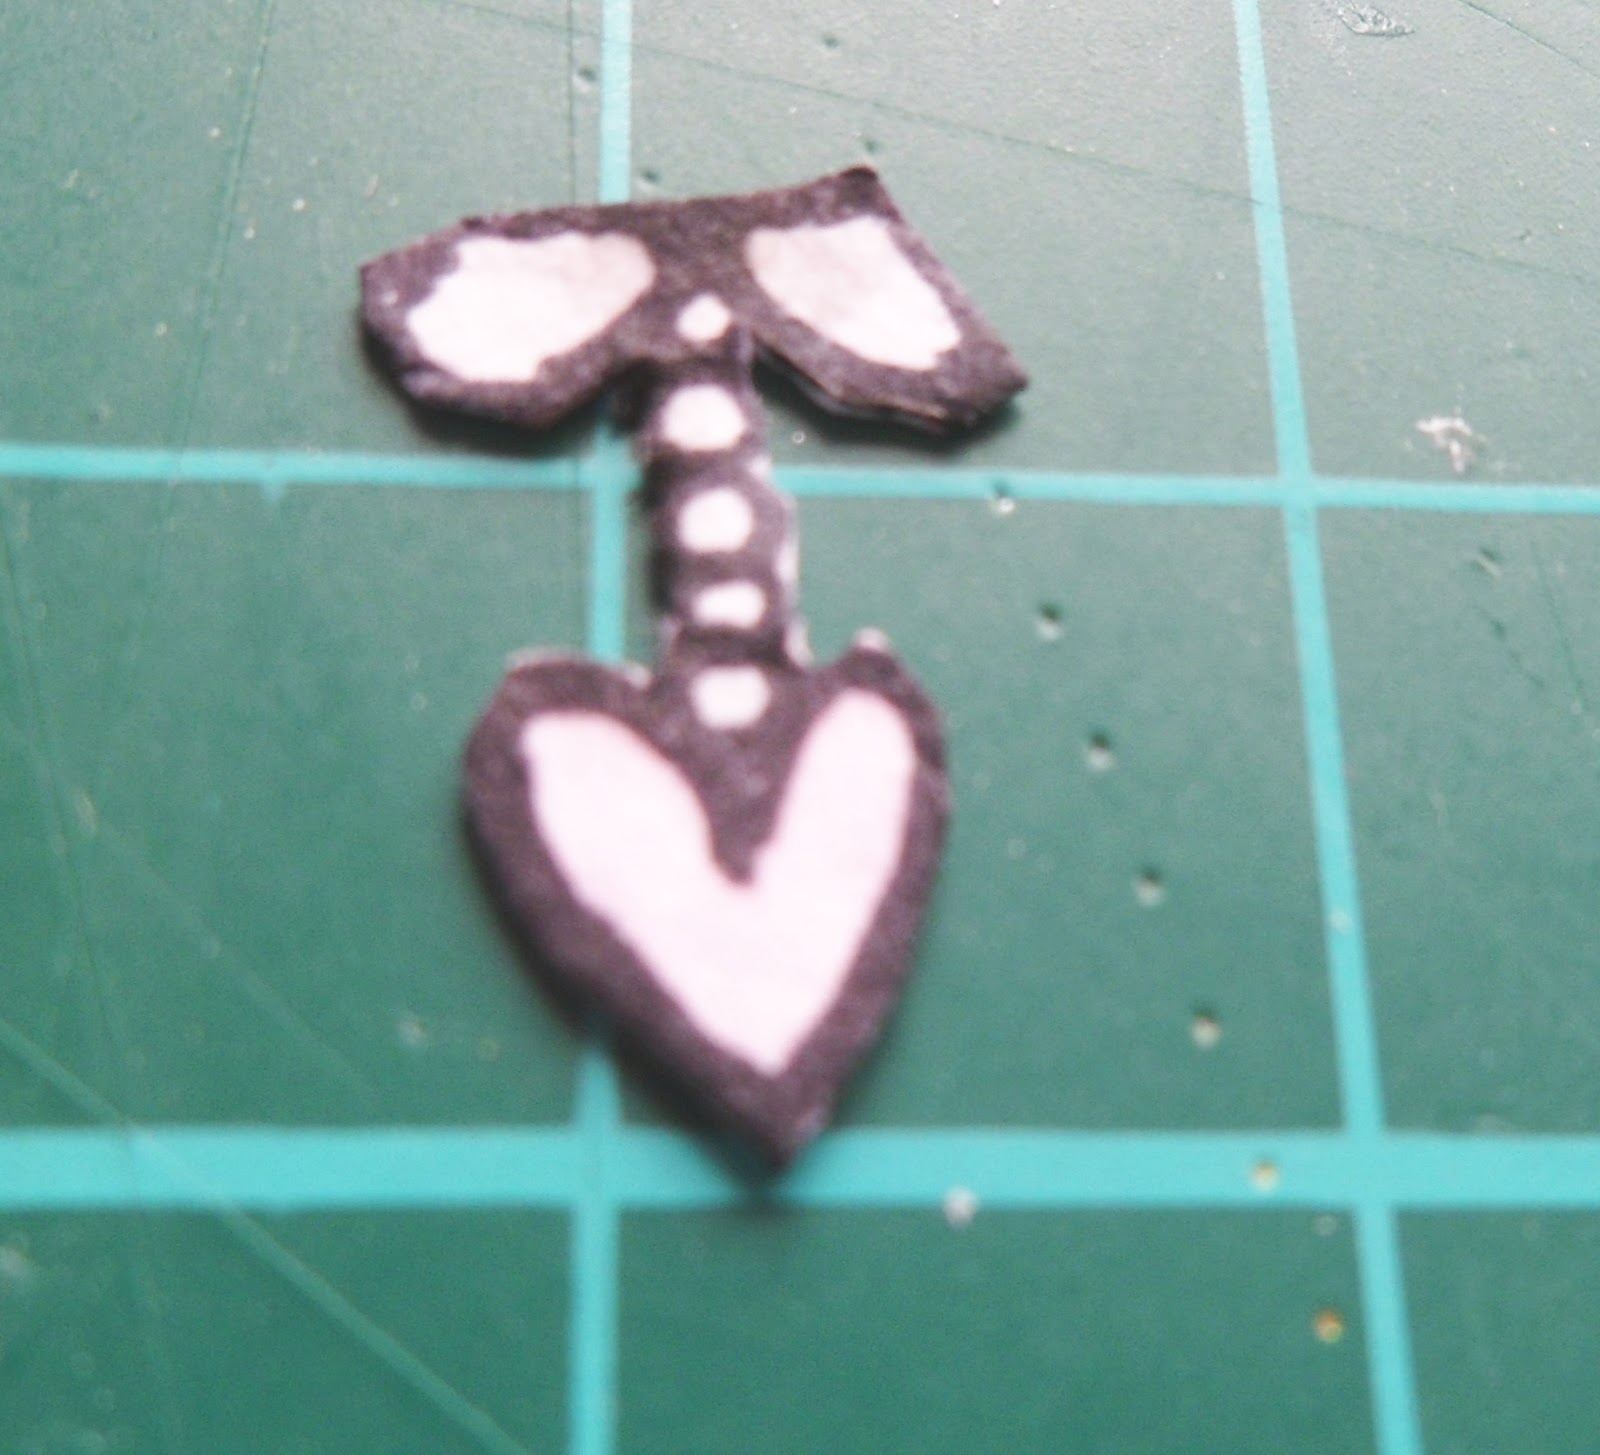
As I had removed the collar and heart earlier when I cut my aperture, I stamped, coloured and cut out another one to glue over the top of the acetate.

I would like to enter this in the following challenges:-
Simon Says Stamp (Wed) We're seeing stars
Catch The Bug   Christmas in July - Make It Sparkle
Crafty Gals Corner # 132 Christmas in July
Little Red Wagon #403 Christmas in July
Oddball Art Stamps  AG/ optional A sky full of stars 
 Brown Sugar #259 Colour  

Thanks for stopping by,
Katrina x
Friday, 9 June 2017

Hey There for Leonie

Hello lovely peeps


I have another card from Leonie's TV shows to share today.

First I made the card background by sprinkling Violet, Purple and Rose Red Brusho powders onto some watercolour card and spritzing them with lots of water


For the top layer I arranged all of the heart dies from the Lots of Love set onto a magnetic sheet and ran them through my Ebosser with white card.


I stamped one of the text stamps in the Hey There Dreamer set with Black Memento ink all over the card and scribbled outlines around each heart aperture with a black fineliner pen.


I glued the Brusho background to an A5 landscape card and then attached the stamped card over the top with 3D foam pads.


The main sentiment is also from the Hey There Dreamer set, which I stamped onto a rectangle of white card and then drew on a black border. I covered the back with strong double-side tape and attached a length of black fibres all the way around.


If you like these stamps and dies then you might want to catch Leonie's shows on Hochanda on Thursday 15th June at 10am and 3pm. Just saying :o)

Thanks for stopping by,
Katrina x

Sunday, 23 April 2017

Lily Concertina for Leonie and Blog Candy Alert

Hello lovely peeps, I hope you are enjoying your weekend.


I'm back with the final sample that I made for Leonie's Typography show, this time combining the Pebeo metal leaf AND Sara's Shabby Chic dies


First I'll show you how I did the colourful background. I started by painting some Sheena Stamping Card with white Tinting Base


then I used a wet wipe to apply 3 different colours of acrylic paint


before cutting the card into four equal panels.


I used Leonie's Typography dies to make stencils from white card


and stippled white titanium paint through the apertures with a stencil brush.


with a different letter on each of the panels


I used the yellow, orange and green paints to stencil more letters through and then stamped around the edges with Leonie's Funky Tree stamp


I applied lots of Pebeo Gilding Paste from the bottle around the edges of each panel using a paintbrush, then left it to dry for an hour.


before applying Gold Metal Leaf (shiny side up)


I thought I would have to press quite hard to get the foil to stick but it comes off really easily


To mount my painted panels I cut a 10.5 x 28cm strip of black card and scored/folded at 7, 14 and 21cm, then glued each panel on with Collall Tacky Glue


For the front of my card I used two of the Typography mini embossing folders to emboss another painted panel of card. Remember to leave the edge of the folder poking out over the edge of your platform so you don't get a line across the card.


I used a sanding block over the raised areas to reveal the white card underneath


For the final decoration I made some lilies from white paper using Sara's Shabby Chic Classic Lily dies, coloured with diluted Brushos


Paint the petals with yellow first and then the green once that has dried.


The stamens were tipped with brown once the green was dry


I twirled each stamen around my pokey tool, poked the end through the handy hole in the centre of the lily and glued it at the back with Collall Glue Gel.


They lose some of their dimension when glued down flat on the card but I think they still look fab :o)


So here's my finished piece, all tied up with bright orange organza ribbon


I would like to enter this in the following challenges:-
Creative Artiste Challenge #25 Anything Mixed Media Goes
Deep Ocean Challenge #153 Spring
Artistic Stampers  Backgrounds
Noor Design UK  Flowers
We Love 2 Create #8 Anything Creative/Mixed Media Goes
Creatalicious Challenges #113 Anything Goes with optional Birthday
Stemplegarten #60 colourful spring

Now, did someone mention candy? :o)

If you've been following me for a while you'll know that I like my round numbers and I had giveaways for my 100th and 200th blog posts. It's going to be a few weeks yet until my 300th post (this is number 284) but I hope to reach another milestone before then.

I am immensely grateful to have 97 fabulous followers on Google, but I would love to get to 100 so when I reach the magic number I will have a little giveaway.

Thanks for stopping by, I hope to see you again soon.
Katrina x