Hello lovely peeps.
Here's my second August card for the Lili of the Valley Design Collective.
The stamp is called
Frosty Fun and the papers are from the
Simple Joys 8x8 paper pad.
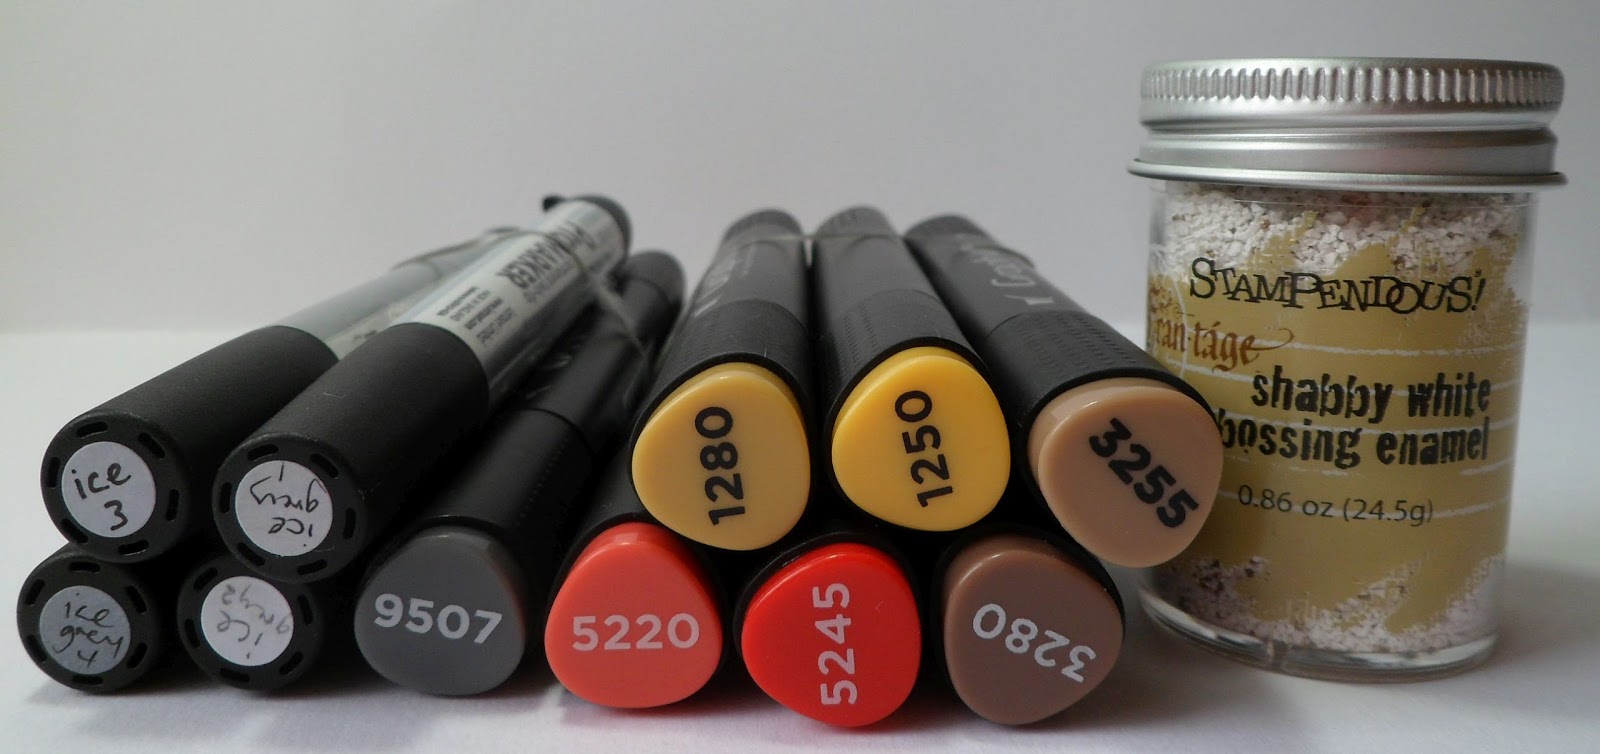
First I stamped Frosty Fun onto white card, cut it out with a circle die and then coloured him in with Promarkers and Graph'Its. I sprinkled Shabby White frantage powder around the edges of the circle and then heated from underneath.
To make the slider mechanism I first cut a slot into a piece of card (diagonal because he's going downhill). It's about 1.25cm wide. I also cut a quarter circle out of the corner of my card.
I cut a piece of matching card 2.5cm by 21cm and folded it in half. This is the 'pull' bit of the mechanism.
Draw lines on the back of the card where this will sit and attach strips of 3D foam either side - this will keep the slider from straying out of position.
Slide the 'pull' strip in place and then turn the card over. The end should poke out from the corner so you can pull it. Put some 3D foam on the other end of the 'pull' strip. This stops the pull strip going too far back in/coming too far out, and is also where you attach your topper.
I added some die cut trees to my card before I attached my topper - I used two different sized Bigz dies. The tree edges were distressed with Frayed Burlap Distress Ink and more frantage powder.
I would like to enter this in the following challenges:-
Sweet Stampin Christmas - Penguins and/or Polar Bears
ABC Christmas - Q is for Quantum Leap (C - Colourful, D - Die Cuts, O - Off the Edge)
That's all for now folks, but I'll be back in a couple of days.
Thanks for stopping by,
Katrina x